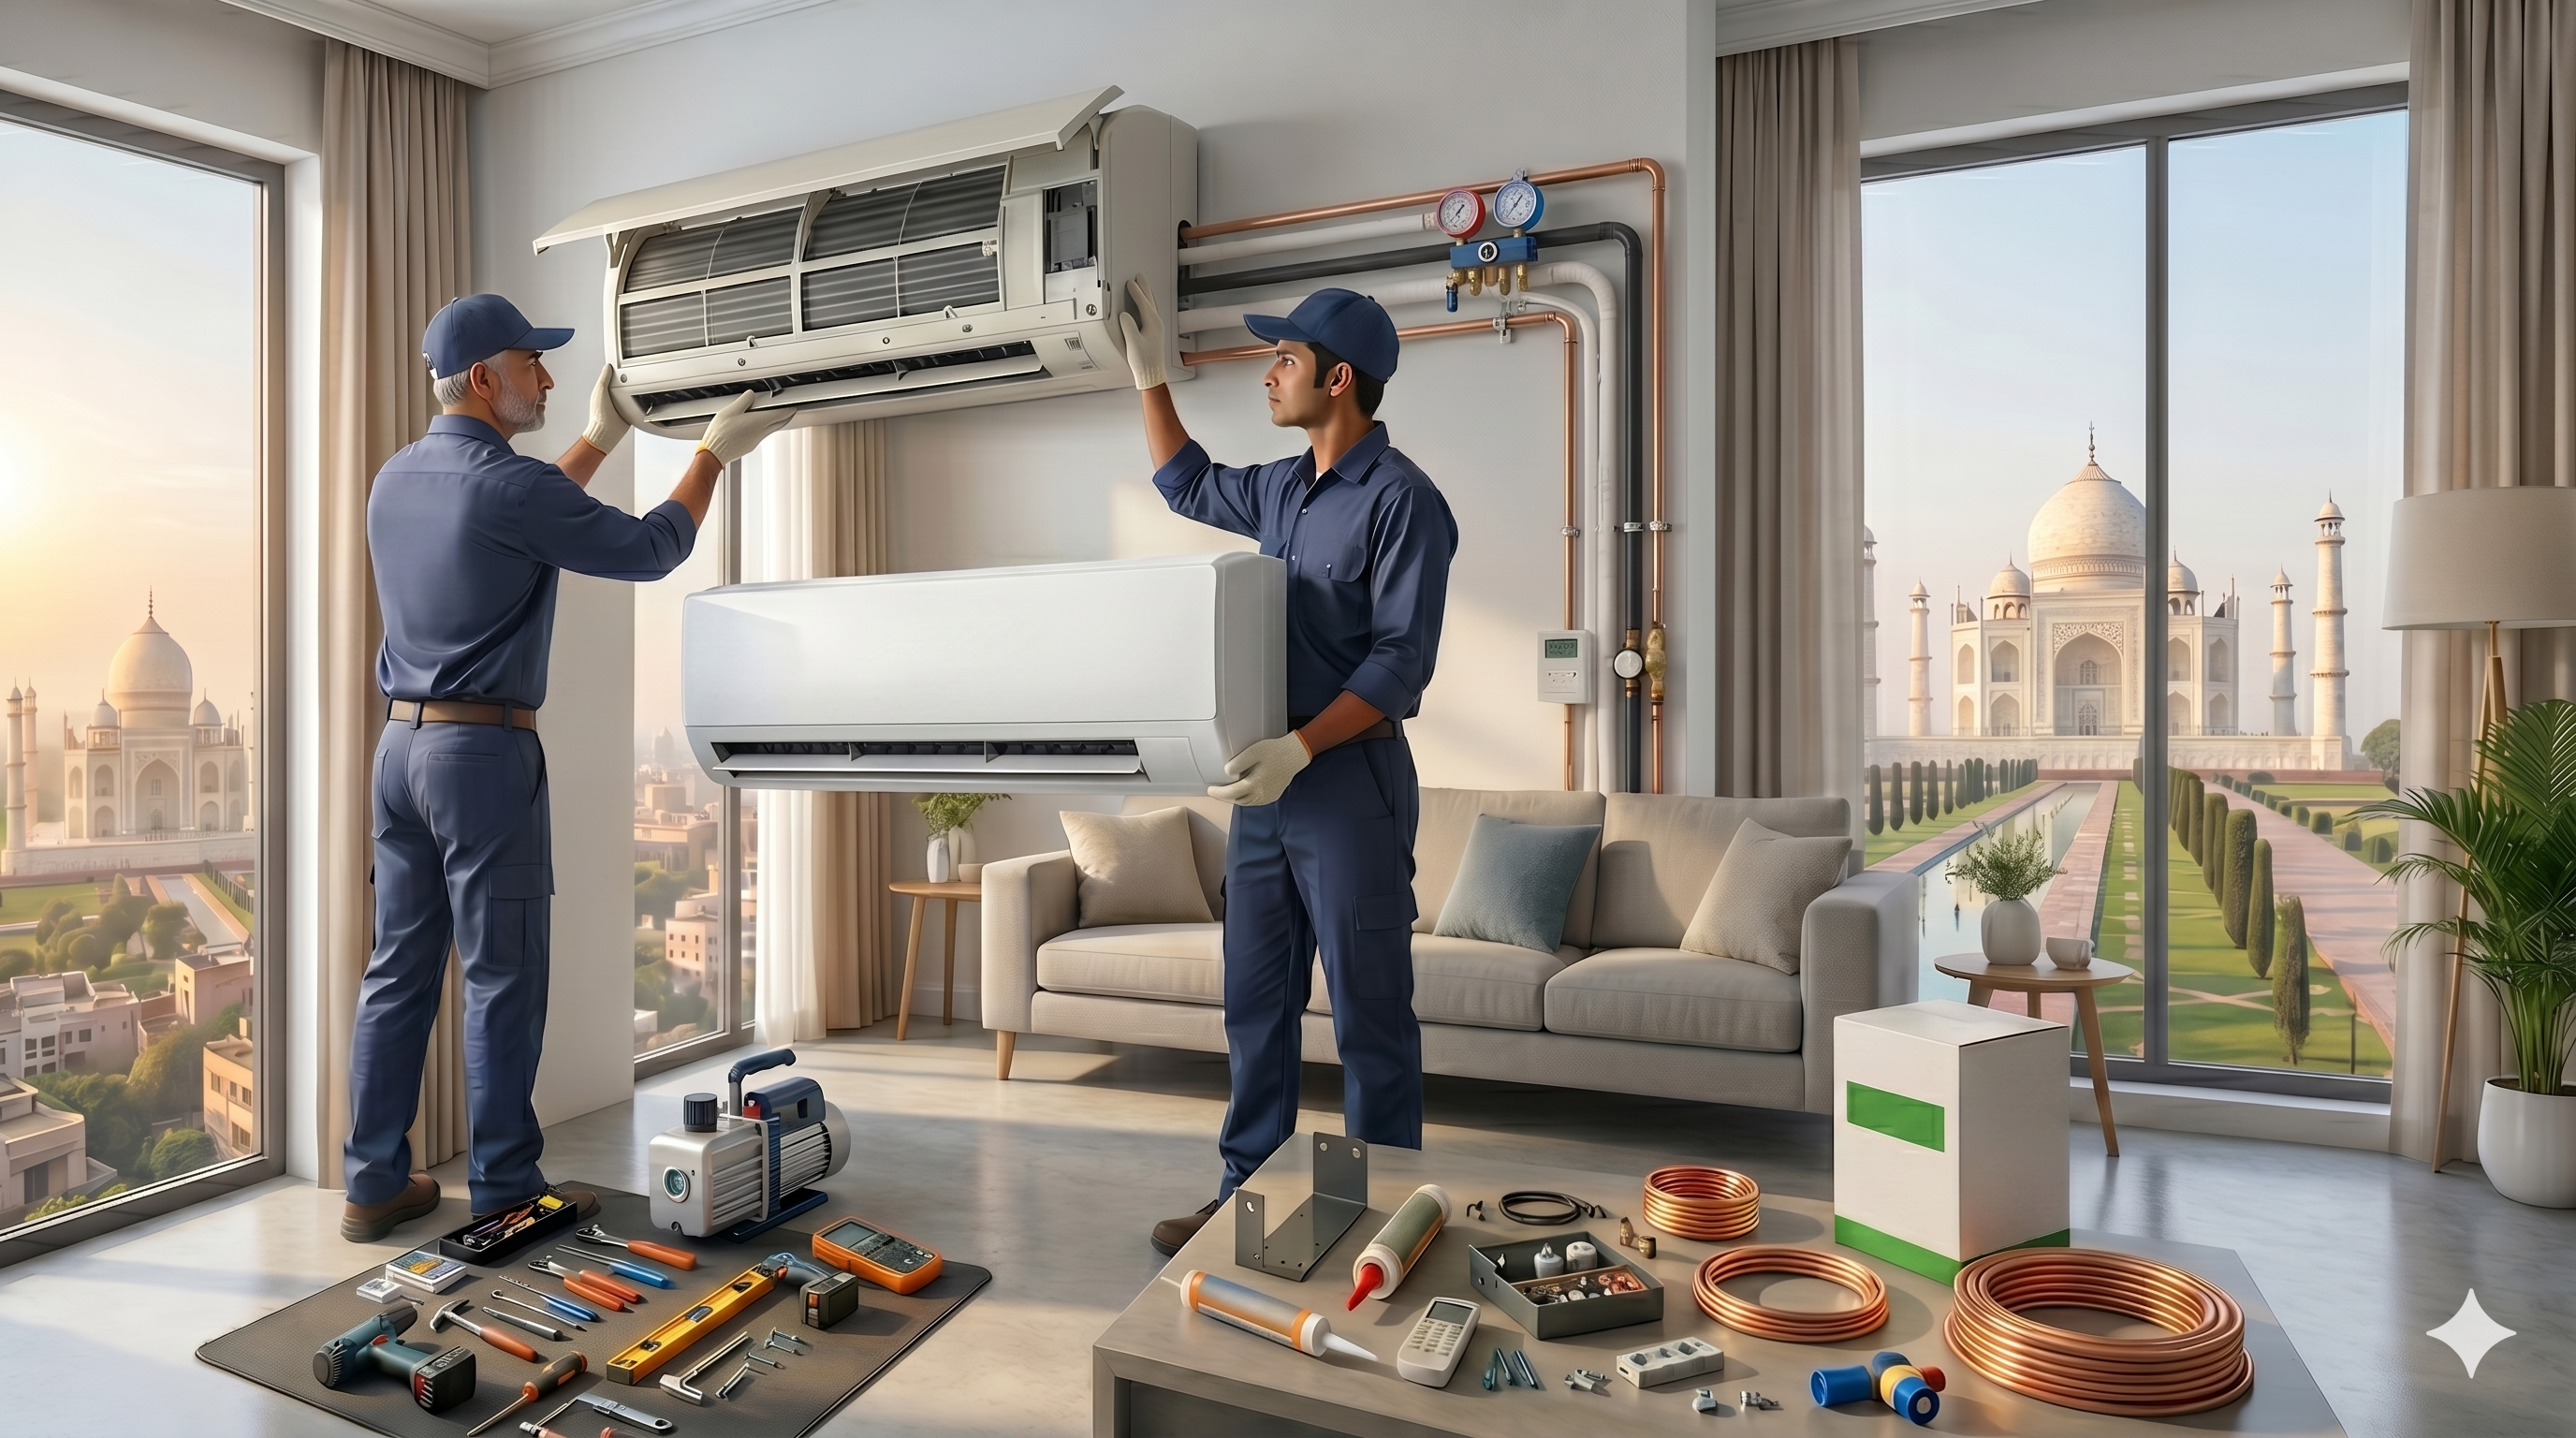
Air Conditioner Replacement
**Description:**
Replacing an air conditioner (AC) involves a comprehensive process that ensures the new unit is installed correctly and operates efficiently. This process includes several detailed steps to remove the old unit, install the new one, and verify that everything is functioning as expected. Here is a comprehensive guide on AC replacement:
1. **Initial Assessment:**
- **Evaluate the Existing System:** A thorough evaluation of the current AC system is performed to determine its condition and identify any issues. This includes checking the age, efficiency, and overall performance of the unit.
- **Assess Cooling Needs:** The cooling requirements of the space are assessed to ensure the new AC unit is appropriately sized. Factors such as room size, insulation, and local climate are considered.
2. **Selecting the New Unit:**
- **Choosing the Right AC:** Based on the assessment, the appropriate type and size of the AC unit are selected. Options include central air conditioners, ductless mini-splits, and window units. Energy efficiency ratings (SEER) and features such as smart controls are also considered.
- **Budget and Preferences:** The selection process also takes into account the budget and specific preferences of the homeowner, including brand, model, and additional features.
3. **Pre-Installation Preparations:**
- **Gather Necessary Tools and Materials:** Essential tools include screwdrivers, pliers, wrenches, a vacuum pump, and safety gear. Materials include refrigerant lines, electrical wiring, and mounting hardware.
- **Turn Off Power:** The power supply to the existing AC unit is turned off to ensure safety during the replacement process.
- **Protect the Area:** Use drop cloths or plastic sheets to protect the floor and surrounding furniture from dust and debris.
4. **Removing the Old Unit:**
- **Recover the Refrigerant:** Connect manifold gauges to the service ports and use a refrigerant recovery machine to safely remove and store the refrigerant from the old unit, complying with environmental regulations.
- **Disconnect Electrical Wiring:** Carefully disconnect the electrical wiring from the old unit, labeling wires for easier reconnection if needed.
- **Detach Refrigerant Lines and Drain Hose:** Use appropriate tools to disconnect the refrigerant lines and drain hose from the old unit, ensuring all connections are properly sealed.
- **Remove the Old Unit:** Gently remove the old indoor and outdoor units, taking care to avoid damage to the surrounding area.
5. **Installing the New Unit:**
- **Mounting the Indoor Unit:** Secure the mounting bracket on the wall for the indoor unit, ensuring it is level and properly anchored. Attach the indoor unit to the bracket.
- **Connecting Refrigerant Lines and Drain Hose:** Carefully connect the new refrigerant lines and drain hose to the indoor unit, ensuring all connections are tight and sealed.
- **Installing the Outdoor Unit:** Place the outdoor unit on a flat, stable surface. Connect the refrigerant lines and electrical wiring to the outdoor unit, following manufacturer instructions.
- **Evacuating and Charging the System:** Use a vacuum pump to evacuate air and moisture from the refrigerant lines. Charge the system with the appropriate amount of refrigerant as specified by the manufacturer.
- **Testing for Leaks:** Perform a leak test to ensure all connections are secure and there are no refrigerant leaks.
6. **Connecting Electrical Components:**
- **Wiring the System:** Reconnect the electrical wiring to the new indoor and outdoor units, ensuring all connections are properly insulated and secured.
- **Grounding the Unit:** Ensure the new AC unit is properly grounded to prevent electrical hazards.
7. **Final Checks and Testing:**
- **Power On and Test:** Turn on the power supply and test the new AC unit to ensure it is operating correctly. Check for proper cooling performance, airflow, and thermostat functionality.
- **Adjust Settings:** Adjust the settings on the thermostat and any smart controls to match the homeowner's preferences.
8. **Cleanup and Final Steps:**
- **Clean the Area:** Remove any debris, dust, and tools from the installation area, leaving the space clean and tidy.
- **Dispose of Old Unit:** Follow local regulations for the proper disposal or recycling of the old AC unit.
- **User Orientation:** Provide the homeowner with an overview of the new system, including how to operate the thermostat and any maintenance tips to ensure optimal performance.
**Safety Considerations:**
- **Electrical Safety:** Ensure all electrical connections are secure and properly insulated to prevent electrical hazards.
- **Handling Refrigerants:** Properly handle and dispose of refrigerants to comply with environmental regulations and prevent harm.
- **Personal Protective Equipment (PPE):** Wear appropriate PPE such as gloves, goggles, and safety boots to protect against injury during the replacement process.
By following these detailed steps, an air conditioner can be replaced safely and efficiently, ensuring the new unit provides optimal cooling performance and energy efficiency.