Included
Uninstallation of ceiling, exhaust or wall fan
Procurement of spare parts (at extra cost)
Minor wiring up to 2m, if needed
Clean-up after the service
Flicksy warranty & damage cover*

Fan Uninstallation (Ceiling, Exhaust, Wall)
Description:
Fan uninstallation is a necessary task when upgrading, replacing, or removing fans in residential, commercial, or industrial settings. Whether dealing with ceiling fans, exhaust fans, or wall-mounted fans, proper uninstallation ensures safety, prevents damage, and prepares the area for a new installation or renovation. Here’s a comprehensive guide on the uninstallation process for various types of fans:
1. Types of Fans and Their Uninstallation Needs:
- Ceiling Fans: Commonly found in homes and offices, ceiling fans provide air circulation and often come with integrated lighting. Uninstalling a ceiling fan involves safely disconnecting electrical connections and removing the fan from its mounting bracket.
- Exhaust Fans: Installed in bathrooms, kitchens, and industrial areas, exhaust fans remove stale air, odors, and moisture. Uninstalling an exhaust fan includes disconnecting the ductwork and electrical connections.
- Wall-Mounted Fans: These fans are mounted on walls to save floor space and provide directional airflow. Uninstallation involves detaching the fan from the wall and disconnecting any electrical wiring.
2. Preparation for Fan Uninstallation:
- Turn Off Power: Safety is the top priority. Turn off the power supply to the fan at the circuit breaker to prevent electrical accidents.
- Gather Tools: Essential tools include a screwdriver, voltage tester, pliers, wire nuts, ladder, and possibly a helper for support. For exhaust fans, additional tools like a utility knife and duct tape may be needed.
- Clear the Area: Ensure the area around the fan is clear of furniture and other obstacles to provide a safe working environment.
3. Ceiling Fan Uninstallation Steps:
- Remove Fan Blades: Unscrew and remove the fan blades to make the unit lighter and easier to handle. Store the blades safely.
- Detach the Light Kit (if applicable): If the fan has an integrated light kit, carefully remove the bulbs and unscrew the light fixtures. Disconnect any wiring connecting the light kit to the fan.
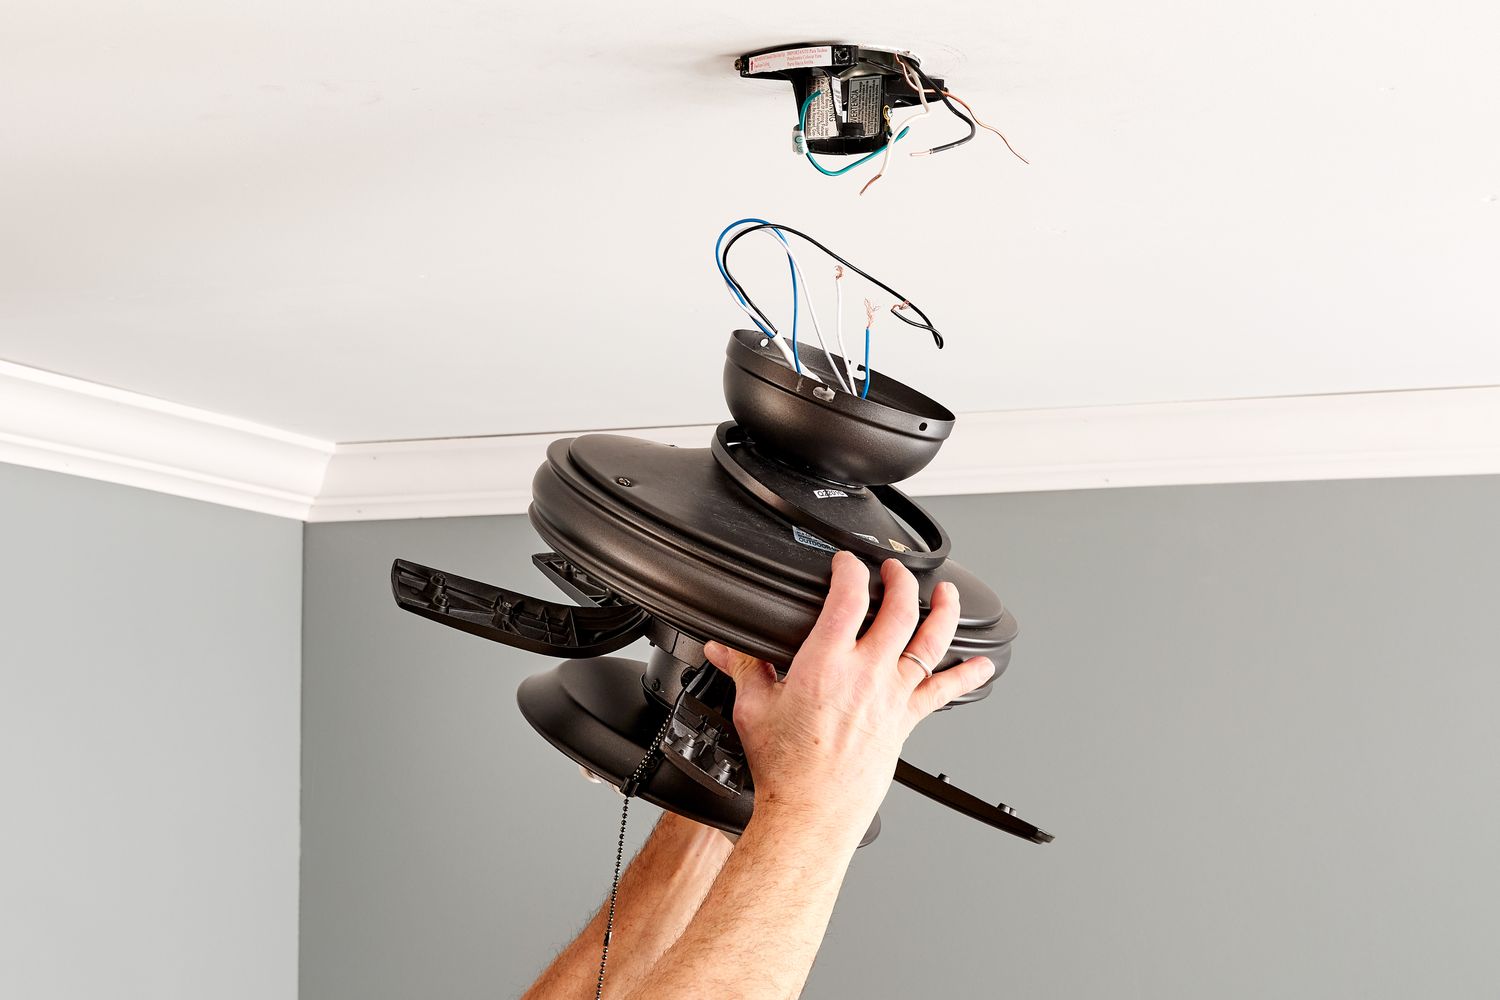
- Disconnect Electrical Wiring: Use a voltage tester to ensure there is no electrical current. Unscrew the wire nuts and disconnect the wires (usually black or red for the fan, blue for the light, white for neutral, and green or bare for ground).
- Remove the Fan Motor Housing: Unscrew the canopy covering the mounting bracket and gently lower the fan motor housing. You may need assistance to hold the fan while you unscrew the mounting bracket.
- Remove the Mounting Bracket: Unscrew and remove the mounting bracket from the ceiling electrical box.
4. Exhaust Fan Uninstallation Steps:
- Access the Fan Housing: Depending on the installation, you may need to access the fan from the attic or by removing a grille or cover inside the room.
- Disconnect Electrical Wiring: Ensure the power is off using a voltage tester. Unscrew the wire nuts and disconnect the electrical wiring.
- Detach the Ductwork: Carefully disconnect the ductwork from the fan housing. You may need to cut the duct tape or remove clamps securing the duct.
- Remove the Fan Housing: Unscrew the fan housing from the mounting bracket or directly from the ceiling or wall. Lower the fan housing and remove it from the opening.
5. Wall-Mounted Fan Uninstallation Steps:
- Remove the Fan Blades (if applicable): Detach the fan blades to reduce weight and make handling easier.
- Disconnect Electrical Wiring: Ensure the power is off. Use a voltage tester to confirm no electrical current. Unscrew the wire nuts and disconnect the wiring.
- Detach the Fan from the Wall: Unscrew the mounting bracket or direct wall mounts securing the fan to the wall. Gently remove the fan from the wall, taking care not to damage the wall surface.
6. Safety and Clean-Up:
- Check for Damage: Inspect the electrical box or mounting surface for any damage or wear. Address any issues before installing a new fan or covering the area.
- Cap the Wires: If not immediately replacing the fan, cap the wires with wire nuts and wrap them with electrical tape to prevent accidental contact.
- Clean the Area: Remove any dust, debris, or old mounting hardware from the area. Patch and paint any holes or marks left by the previous installation.
7. Advantages of Professional Fan Uninstallation:
- Safety: Certified electricians or professional handymen ensure safe disconnection and removal of electrical components.
- Damage Prevention: Professionals can prevent damage to ceilings, walls, and electrical wiring during the uninstallation process.
- Efficiency: Experienced technicians can quickly and efficiently uninstall fans, minimizing disruption to your home or business.
- Preparation for New Installation: Proper uninstallation prepares the area for new installations, ensuring compatibility and a secure fit for new fixtures.
8. Considerations for Hiring Professionals:
- Experience: Choose professionals with experience in fan uninstallation and electrical work to ensure safe and efficient service.
- Certification: Ensure the technician is licensed and insured, providing peace of mind and accountability.
- Customer Reviews: Check reviews and testimonials to gauge the quality of service and customer satisfaction.
Proper fan uninstallation is essential for safety, preventing damage, and preparing the space for new installations or renovations. Whether you’re removing a ceiling fan, exhaust fan, or wall-mounted fan, following the correct steps and safety guidelines ensures a smooth and effective process. For complex or challenging uninstallations, consider hiring a professional to ensure the job is done safely and efficiently.